URec384k - Underwater Acoustic Recorder
UPDATES
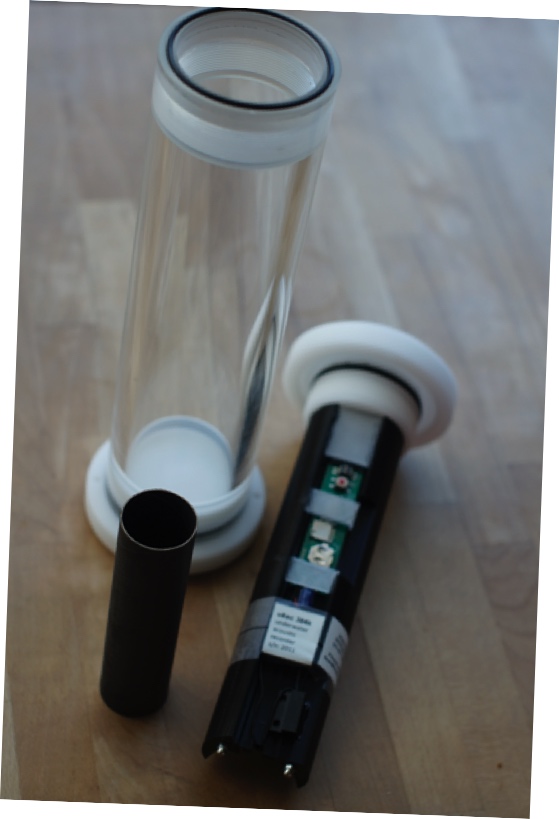
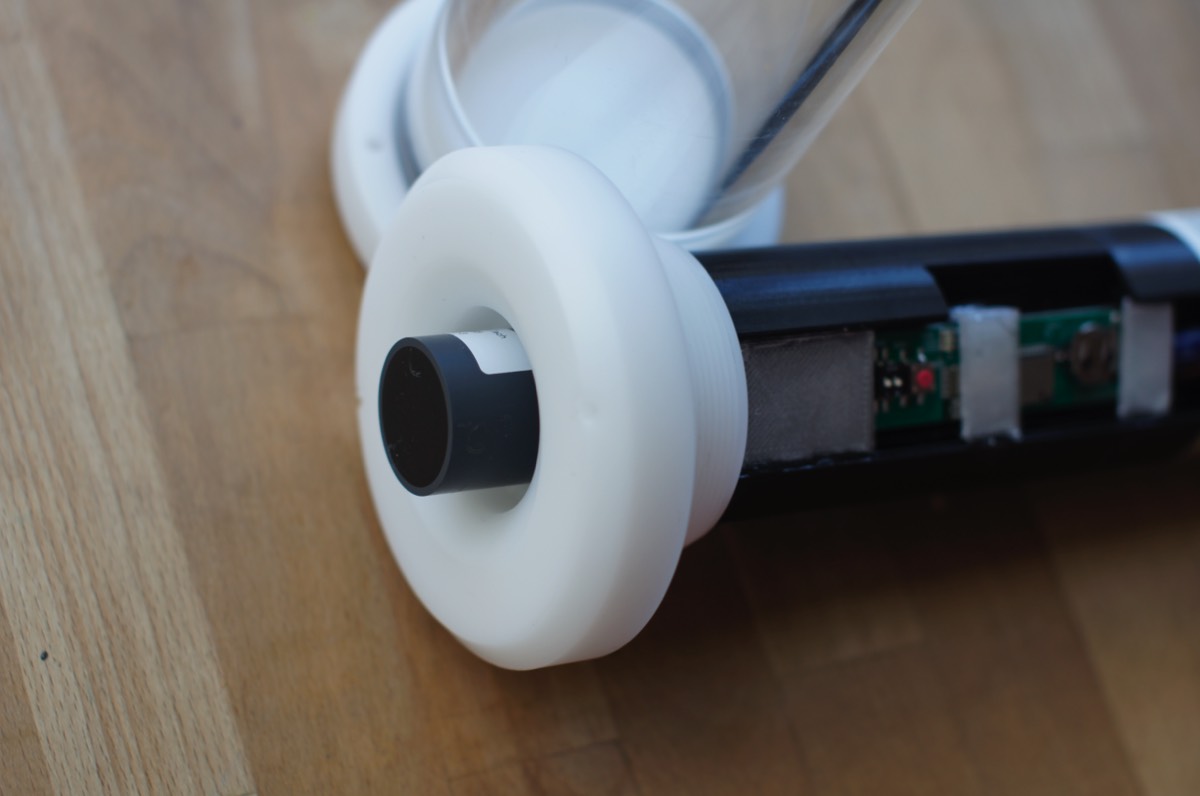
The URec384k is delivered with a customized recording board sampling up to 384kHz set in a transparent resin canister with white Delrin caps.
ISSUE 1.0
FILE FRAGMENTATION:
The firmware is designed to preserve the integrity of recorded data.
This could lead, under some circumstances, to a fragmentation of the recorded files within the sampled period.
WHEN THIS HAPPENS:
This behavior is rarely predictable. It depends on both the mSD card used for acoustic recording (brand, model, production batch), its capacity and its level of free space.
The issue happens when a DATA WRITE DELAY event is detected.
HOW IT IMPACTS DATA:
When a delay in writing data is detected by the firmware, the file is closed to preserve data integrity, and a subsequent file is opened. The pending data are written to the new file, which is timestamped accordingly.
UPDATE
On July 2020 a firmware update has been released in order to correct this issue.
To correctly update the URec384k recorder the user must strictly follow these steps:
1. download the updated manual of the DODOTRONIC recording board from here.
2. download the current firmware update from here.
3. download the Android configuration App from here (it must be manually installed on your android device, copying the file on your device and double clicking on the .apk file).
4. download the SD formatting software from here.
5. install the formatting software on your computer, insert a small capacity mSD card (8GB for example), and full format it (no quick format option).
6. copy the FIRMWARE.ENC file from your computer onto the mSD just formatted.
7. eject the mSD
8. insert the mSD on the URec384k and turn the recorder on inserting the batteries. The firmware update procedure will start as described in the DODOTRONIC manual. At the end of the procedure turn the recorder OFF with the magnet or removing the batteries.
9. if the update procedure is successful the FIRMWARE.ENC file is deleted from the mSD (most of the times, but not ALL the times depending on the mSD series).
10. insert a fresh/empty mSD
11. start the UM384BLE App on the Android device (the file you have just installed on your phone), while the bottom recorder is still off.
12. select CONNECT TO MIC and then SCAN & CONNECT on the App.
13. insert the batteries / remove the magnet to turn on the recorder. The device should soon detect the recorder and offer the configuration interface.
Please NOTE - IMPORTANT
All parameters MUST be set with a real-life scenario.
For example, the SET DATE START must be set in the future, and must be in a moment when the recorder will be powered. If the SET DATE START falls in a time when the recorder is NOT powered, the trigger will not be received and all the programmed sampling will NOT start.
Stitching / concatenating your audio files
The software you can use to stitch file together and the tested procedure.
1. download and install FRE:AC software. It's free and reliable.
2. in the main window, on the bottom right, select ENCODE TO A SINGLE FILE (YES)
3. select WRENCH (setup) —ENCODER — WINDOWS WAVE FILE OUTPUT
4. USE INPUT FOLDER AS OUTPUT IF POSSIBLE
5. FILENAME PATTERN: FILENAME (and specify the filename scheme you prefer)
6. on the right: ENCODE TO A SINGLE FILE
Check the files you want to stitch (concatenate)
Select the name of the first file in the group and copy it in the clipboard (CTRL-C)
Drag and drop the group of files into FRE:AC
Run the software.
The program asks for a filename for the generated file. Paste the name of the first file and add a suffix you like (we use _CONC)
Press OK
the generated file will have the name of the first file of the group xxx+_CONC.WAV and will contain the stitched audio of the whole group.