
eTracks.info - the manual
General principles
The eTracks.info system is based on four components: the beacon, the communication manager, the database and the command&query routines.
- the beacon (transponder) is the unit that sends the position data to the communication manager. The beacon can be the LAIPAC units, or any smartphone running the eTracks.info software (soon available for Symbian and iPhones). Our communication protocol is available for third parties ready to develop their software for mobile devices. The user can configure these devices according to their use.
- the communication manager is a piece of software running on a PC somewhere out there. This software manages the communication between the remote beacons and the database. This software is completely transparent to the final user.
- the database is the place where your data are stored. Position and additional data are stored on a high-capacity server somewhere out there (due to security reasons we do not tell you exactly where they are). The web pages are also stored on these servers.
- the command&query routines are the routines that let you have data back according to your needs. These very same routines allow you to send commands to the units from a web interface.
How to use the standard LAIPAC S-911 beacon
Please refer to Laipac S-911 manual at LAIPAC website
Special custom features are going to be added on future releases.
How to retreive data from the database. The current web interface.
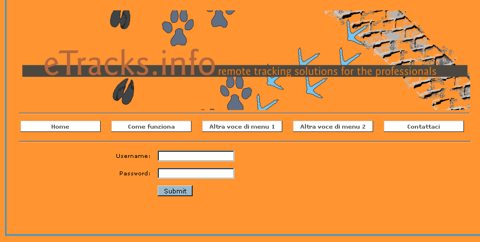
At www.etracks.info you get the above interface. You are requested to login with your username and password.
To get your username and password please write to info@nauta-rcs.it
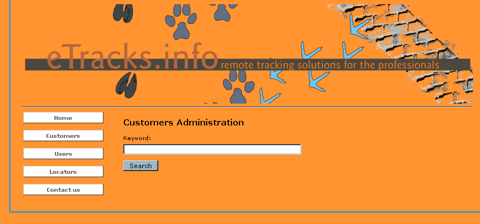
This is the administrative page, you should not get here!?
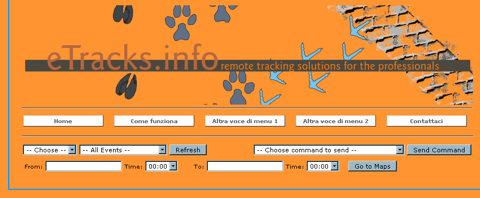
This is your page.
You see five buttons at the top (HOME - HOW TO USE - APPLICATIONS - LOGOUT - CONTACTS)
The interesting part are the two lines right in the middle:
CHOOSE: this is a drop-down selection window. It is used to select the beacon you are interested in.
Go ahead and choose one of your beacons.
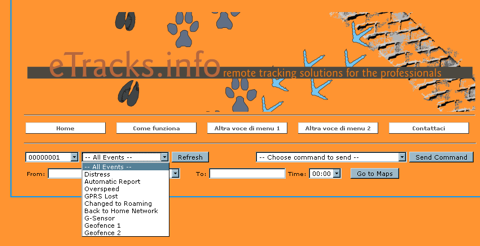
--- ALL EVENTS ---: this is a drop-down selection window. It is used to select the event you are interested in.
You can select and get a list of any of the encoded event
- -- All Events -- (all the events are listed, each with its own event code)
- Distress (a list of the DISTRESS events sent by the beacon)
- Automatic Report (a list of the automatic temporized events)
- Overspeed (a list of the OVERSPEED events, i.e. when the unit speed was over the limit specified when being programmed)
- GPRS Lost (a list of the situation when the unit was out of the GPRS coverage)
- Changed to Roaming (a list of when the remote units were linked to GSM networks other than their own, i.e. other than their SIM network)
- Back to Home Network (a list of when the units were inked back to their SIM network)
- G-Sensor (a list of when the G-Sensor detected an impact or deceleration)
- Geofence 1 (a list of when the units
- Geofence 2
If you now press
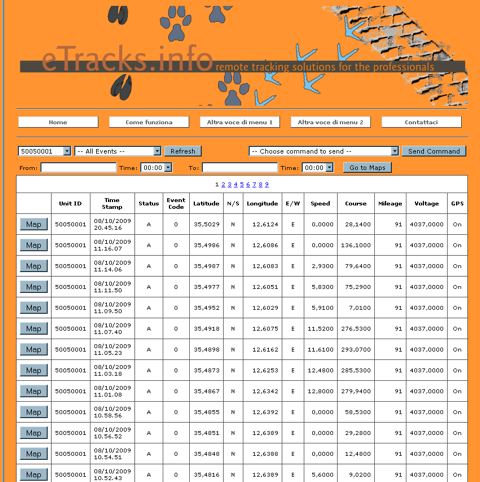
This list will include all the events that match your query criteria. Every entry has a < Map > button that will allow you to get a map of the location of that specific event.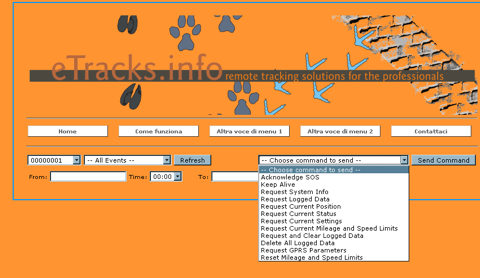
-- Choose command to send --
This is a drop-down selection window. You can send any of the listed command to the beacon you are selecting.
- Acknowledge SOS
- Keep Alive
- Request System Info
- Request Logged Data
- Request Current Position
- Request Current Status
- Request Current Settings
- Request Current Mileage and Speed Limits
- Request and Clear Logged Data
- Delete All Logged Data
- Request GPRS Parameters
- Reset Mileage and Speed Limits
Once you have selected the Command to send, please press the < Send Command > button. Your command wil be queued in the command list and will be forwarded to the beacon as soon as a valid connection is estabilished from the beacon itself to the server. Double commands are automatically filtered (you can not queue twice the same command for the same beacon, and the system will automatically correct this situation)
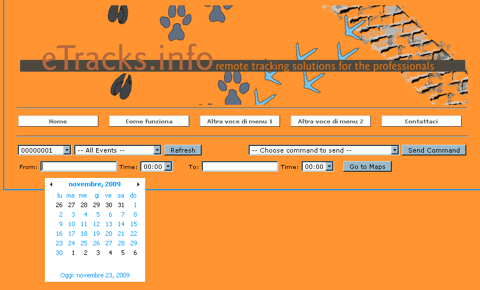
From: and Time:
On the next line you can select the period of your query.
A drop-down standard calendar, in your language, will help you in selecting the correct period.
As
Returned data
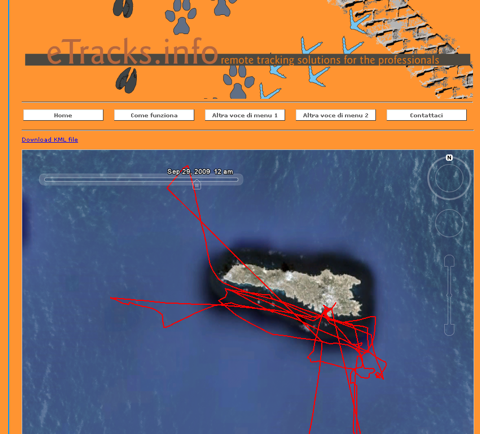
You are now asked to install the GoogleEarth plug-in for your browser, if you have not already done.
This is a free software that allows you to see maps within the browser window.
Once you have installed the plug-in the browser will appear like the window above: a big map at the center (you can zoom and move just like standard GoogleEarth) and a small link at the top of the map.
The small link allows you to save the track locally on your computer (and re-open with another software, or store as you like).
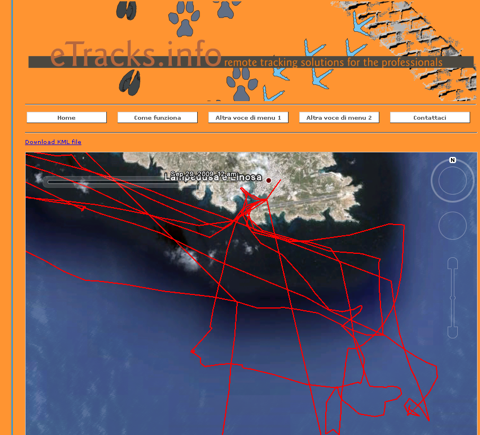
You can zoom-in int your track as you like.
A simple timeline in the map windows allows you to show the track points you are interested in, selecting a period of interest.
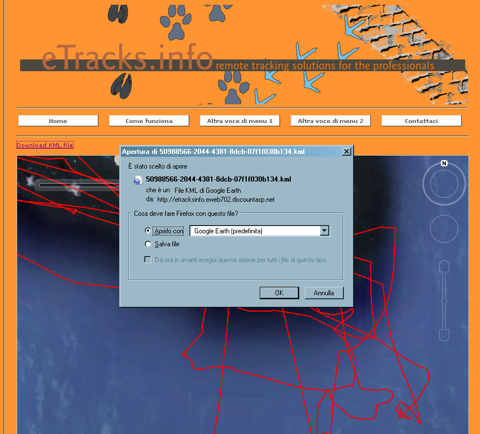
If you decide to save the file locally a "Save as..." window will appear.